Introduction
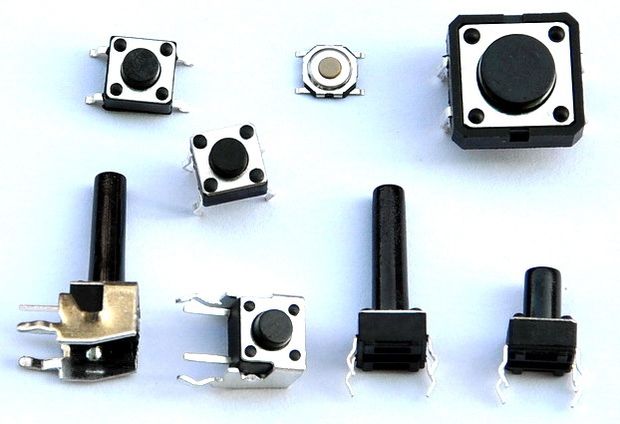
Push buttons or switches connect two points in a circuit when you press them. This example turns on one led when the button pressed once, and off when pressed twice.
In this tutorial you will also learn how to use 'flag' variable to control an event.
So, let's get started!
What you will need
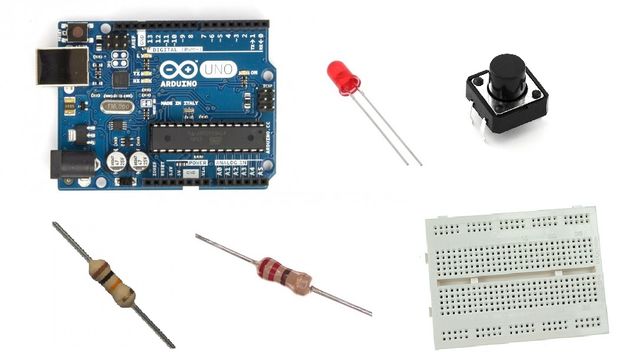
For this tutorial you will need:
- Arduino uno
- Breadboard
- LED
- 220 Ohm & 10 KOhm resistor
- Push button
The Circuit


When the pushbutton is open (unpressed) there is no connection between the two legs of the pushbutton, so the pin is connected to ground (through the pull-down resistor) and we read a LOW. When the button is closed (pressed), it makes a connection between its two legs, connecting the pin to 5 volts, so that we read a HIGH.
Tip:
You can also wire this circuit the opposite way, with a pullup resistor keeping the input HIGH, and going LOW when the button is pressed. If so, the behavior of the sketch will be reversed, with the LED normally on and turning off when you press the button.
If you disconnect the digital i/o pin from everything, the LED may blink erratically. This is because the input is "floating" - that is, it will randomly return either HIGH or LOW. That's why you need a pull-up or pull-down resistor in the circuit.
The Code
Here's the 'Button' code, embedded using codebender!
Keep in mind that setup( ) routine runs only once after power on / re-program or press the reset button. In the program below, the first thing you do is to initialize pin 9 as an output pin with pinMode( ) function in setup( ) routine.
The loop( ) routine runs over and over again, forever. In the main loop, you read the state of button (pressed=high, unpressed=low) and you store it in buttonState variable. When button pressed once, the led turns on, and when pressed twice, the led turns off.
Read comments below
Try downloading the codebender plugin and clicking on the Run on Arduino button to program your Arduino with this sketch. And that's it, you've programmed your Arduino board! You can keep playing with that by clicking the "Edit" button and start making your own modifications to the code. For example you can add a second led or make it blink when button pressed.
Well done!
You have successfully completed one more Arduino "How to" tutorial and you learned how to use:
- buttons
- flag variable to control an event