Introduction
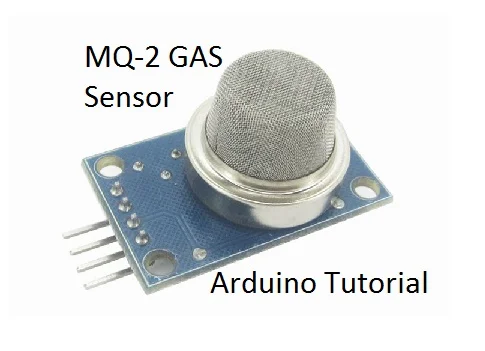
The MQ series of gas sensors use a small heater inside with an electro-chemical sensor. They are sensitive for a range of gasses and are used indoors at room temperature. The output is an analog signal and can be read with an analog input of the Arduino.
The MQ-2 Gas Sensor module is useful for gas leakage detecting in home and industry. It can detect LPG, i-butane, propane, methane ,alcohol, hydrogen and smoke.
Some modules have a built-in variable resistor to adjust the sensitivity of the sensor.
Note: The sensor becomes very hot after a while, don't touch it!
In this tutorial we will use the serial monitor of Codebender (or Arduino IDE) to see how the sensor acts in variable gasses.
So, let's get started!
What you will need
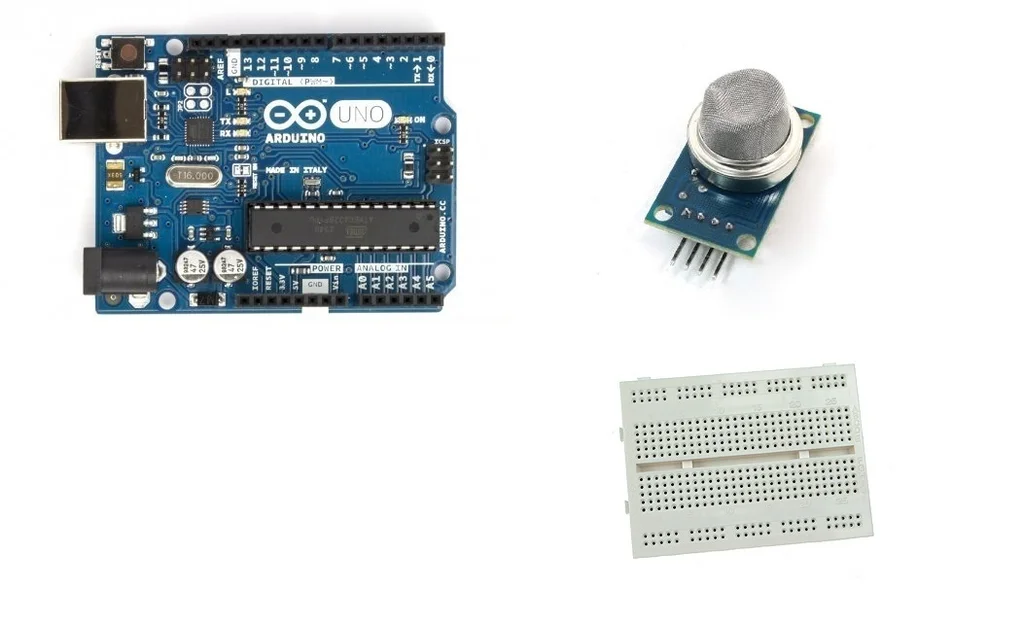
For this tutorial you will need:
- Arduino uno
- Breadboard
- MQ-2 Gas sensor module
The Circuit
The connections are pretty easy:
- Vcc to Arduino 5V pin
- GNG to Arduino GND pin
- Output to Arduino Analog A0 pin
Note: The sensor becomes very hot after a while, don't touch it!
The Code
Here's the code, embedded using Codebender!
Try downloading the codebender plugin and clicking on the Run on Arduino button to program your Arduino with this sketch. And that's it, you've programmed your Arduino board! Press connect button to start serial communication with your Arduino board.
Now you can try this:
Take a lighter and press the button to release gas near the sensor. Observe values on serial monitor.
You can keep playing with that by clicking the "Edit" button and start making your own modifications to the code.
Well done!
You have successfully completed one more Arduino "How to" tutorial and you learned how to use the MQ-2 Gas sensor with Arduino.
Tip: You can use this tutorial to read values from all MQ gas sensors (MQ-2, MQ-3, MQ-4, MQ-5, MQ-6, MQ-7, etc)