Introduction
In this tutorial you will learn how to use a water level sensor with the Arduino uno board.
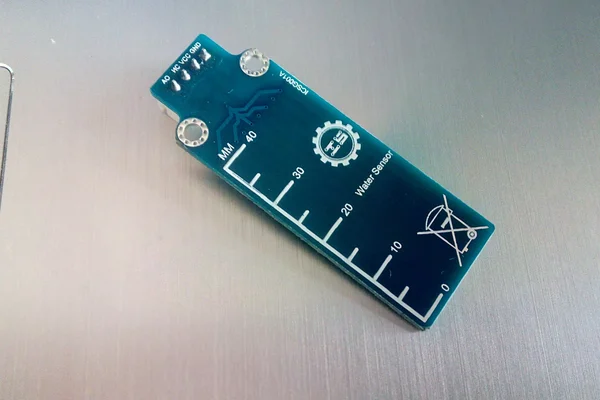
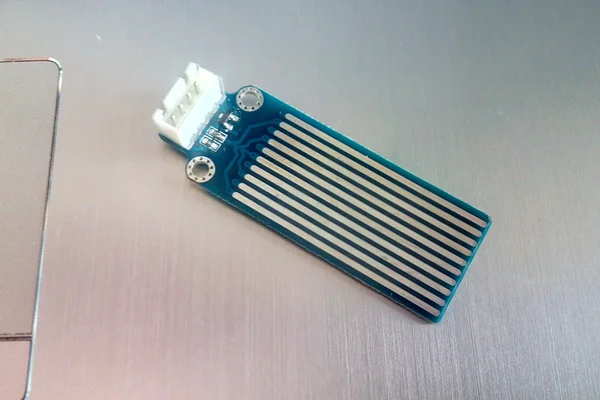
This module is designed mainly for the DIY hobbyist and provide them a low-cost and easy-to-use water level detection scheme. The sensor that I will use for this tutorial can measure water level up to 40mm (4cm).
This is an analog sensor and the data that we will read will be values from 0 to 1023.
Let's get started and find out more about it.
What you will need
For this project you will need:
- Arduino uno
- Breadboard
- Water Level Sensor
The Circuit
The connections are pretty easy!
- Vcc - Arduino 5V
- GND - Arduino GND
- A0 - Arduino Analog pin 0
Find analog values
We need to find the analog values for our sensor.
Upload the following sketch on Arduino by pressing the "Run on Arduino" button and then press the "Connect" button to start serial communication.
Now take a glass of water and slowly put in it the sensor.
My analog values from this procedure are:
- 0mm - 480
- 5mm - 530
- 10mm - 615
- 15mm - 660
- 20mm - 680
- 25mm - 690
- 30mm - 700
- 35mm - 705
- 40mm - 710
As you can see the sensor resolution decreases as the water reaches the maximum level.
On next step we will map those values to print on serial monitor the level of water on mm.
The Code

Here's the code, embedded using codebender!
Upload the following sketch on Arduino by pressing the "Run on Arduino" button and then press the "Connect" button to start serial communication.
You can keep playing with that by clicking the "Edit" button and start making your own modifications to the code. For example try to change the delay time.
Well done!
You have successfully completed one more Arduino "How to" tutorial and you learned how to use the water level sensor.