Introduction

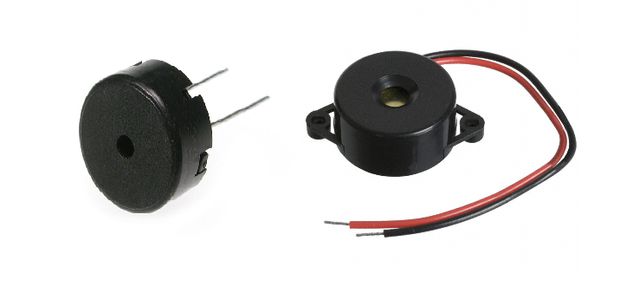
In this tutorial you will learn how to use a buzzer or piezo speaker with Arduino. Buzzers can be found in alarm devices, computers, timers and confirmation of user input such as a mouse click or keystroke.
You will also learn how to use tone() and noTone() function.
So, let's get started!
What you will need

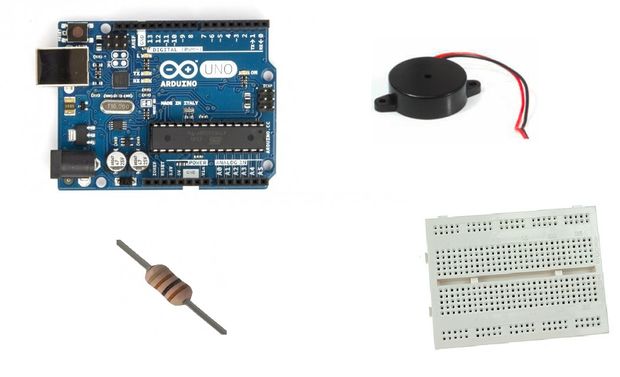
For this tutorial you will need:
- Arduino uno
- Breadboard
- Buzzer / piezo speaker
- 100 Ohm resistor (optional)
The Circuit

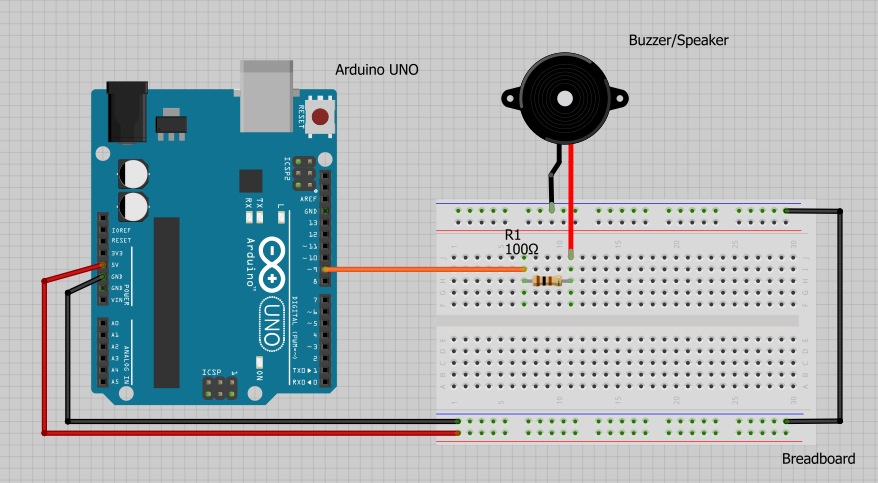
The connections are pretty easy, see the image above with breadboard circuit schematic.
The Code
Here's the "Tone" code, embedded using codebender!
How it works? It's simple, tone(buzzer, 1000) sends a 1KHz sound signal to pin 9, delay(1000) pause the program for one second and noTone(buzzer) stops the signal sound. The loop() routine will make this run again and again making a short beeping sound.
(you can also use tone(pin, frequency, duration) function)
Try downloading the codebender plugin and clicking on the Run on Arduino button to program your Arduino with this sketch. And that's it, you've programmed your Arduino board!
You can keep playing with that by clicking the "Edit" button and start making your own modifications to the code.
For example, try to change sound signal "1000" (1KHz) to "500" (500Hz) or delay time and see how it changes the program.
Well done!
You have successfully completed one more Arduino "How to" tutorial and you learned how to use:
- buzzer / piezo speaker
- tone(), noTone() functions