Introduction
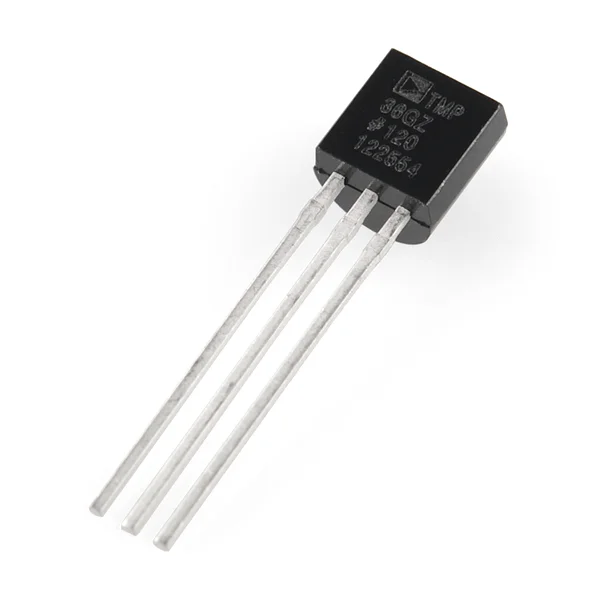
The TMP35/TMP36/TMP37 are low voltage, precision centigrade temperature sensors. They provide a voltage output that is linearly proportional to the Celsius (centigrade) temperature. The TMP35/ TMP36/TMP37 do not require any external calibration to provide typical accuracies of ±1°C at +25°C and ±2°C over the −40°C to +125°C temperature range.
In this tutorial you will learn how to use the TMP36 sensor with Arduino uno. The room temperature will be printed to serial monitor.
Before we start let's see more information about this sensor.
About the TMP36 sensor
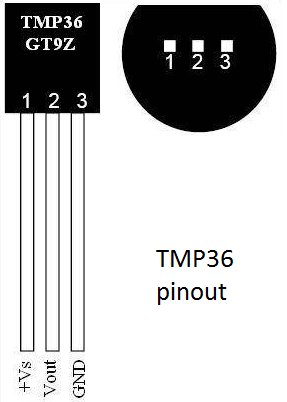
Features:
- Low Voltage Operation (+2.7 V to+5.5 V)
- Calibrated Directly in °C
- 10 mV/8°C Scale Factor (20 mV/8°C on TMP37)
- ±2°C Accuracy OverTemperature (typ)
- ±0.5°C Linearity (typ)
- Stable with Large Capacitive Loads
- Specified -40 °C to +125 °C, Operation to +150 °C
- Less than 50 µA Quiescent Current
- Shutdown Current 0.5 µA max
You can see the TMP36 pinout in the image above.
Find more info here: datasheet
What you will need
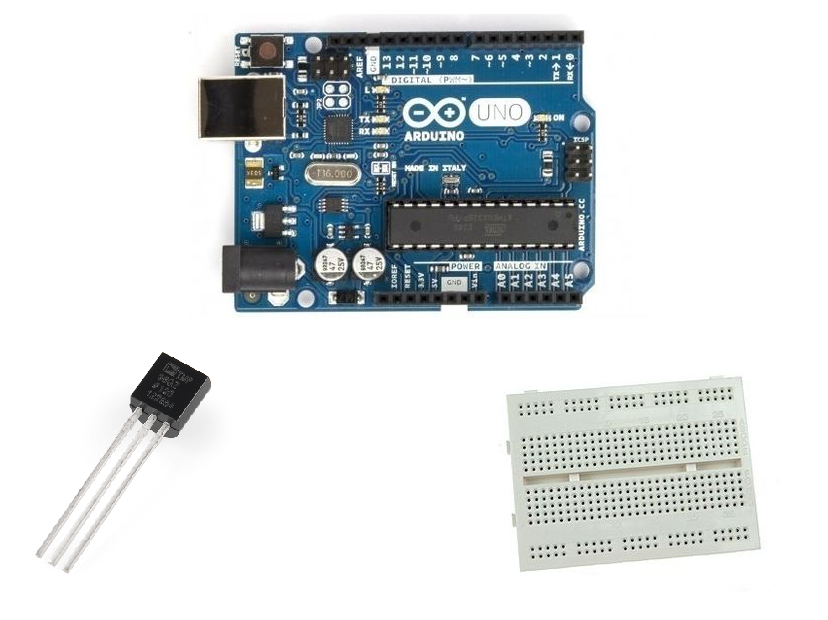
For this project you will need:
- Arduino uno
- Breadboard
- TMP36 temp sensor
The Circuit
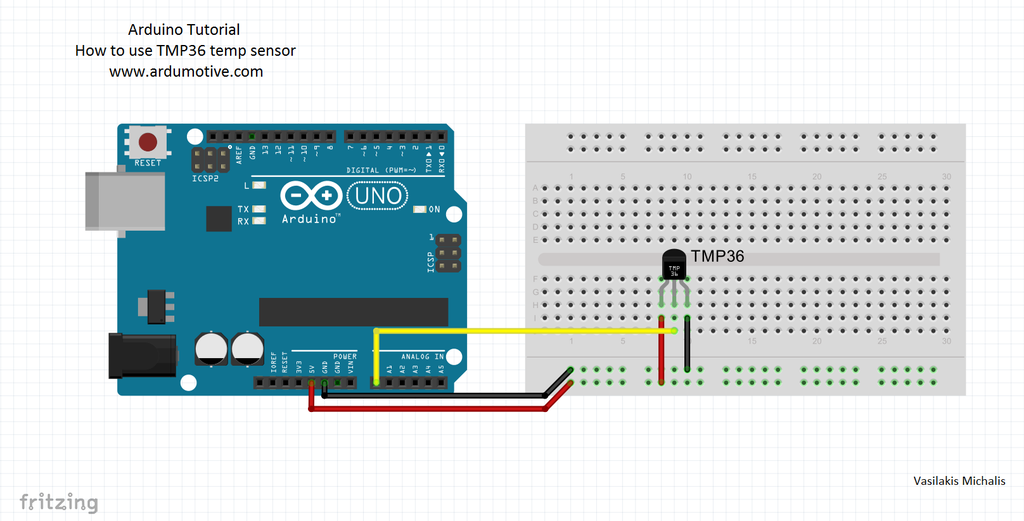
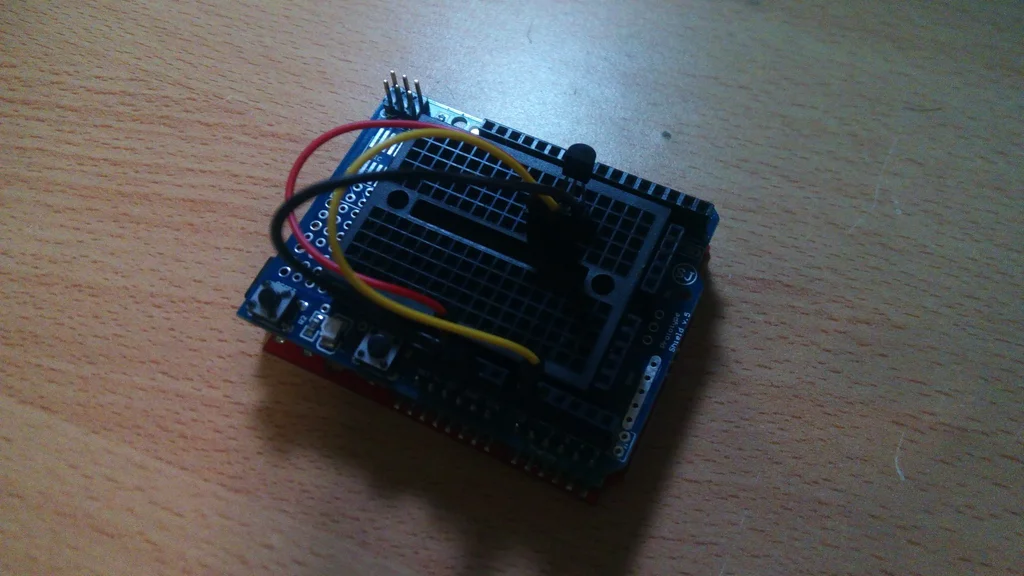
The connections are pretty easy, see the image above with the breadboard circuit schematic.
Make sure to watch sensor from front side:
- Connect the 5V pin to 5 Volts (5V)
- Connect the SIGNAL pin to analog pin 0
- Connect the GND pin to ground (GND)
The Code
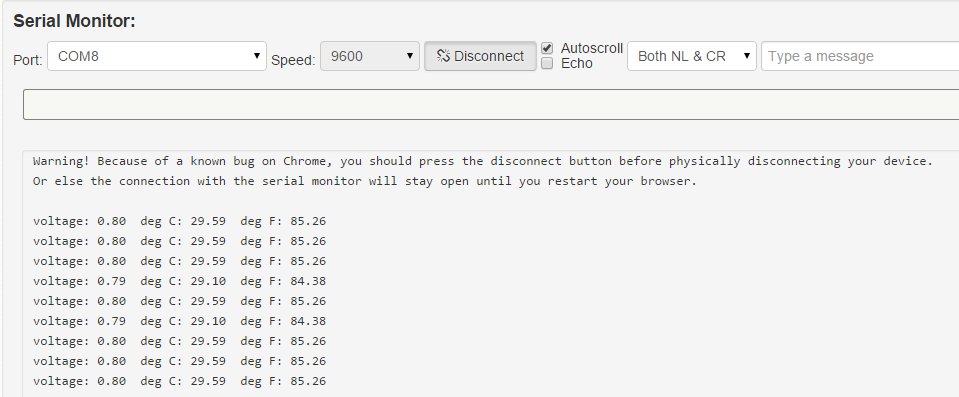
Here's the code, embedded using codebender!
We will use code from SparkFun Inventor's Kit - SIK Guide, Example sketch 07. The code is pretty self-explanatory, and the comments do a better job than me explaining how it works.
Try downloading the codebender plugin and clicking on the Run on Arduino button to program your Arduino board with this sketch. And that's it, you've programmed your Arduino with this sketch. Press connect button below to start serial communication and receive temperature from sensor.
Well done!
You have successfully completed one more Arduino "How to" tutorial and you learned how to use the TMP36 temperature sensor with Arduino.