Introduction
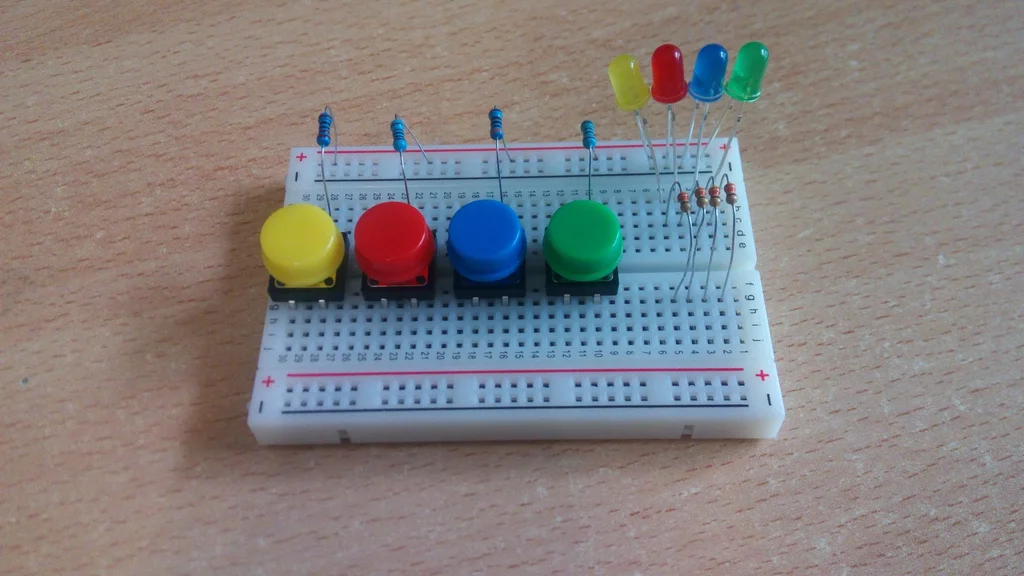
The Arduino uno board has 12 availabe digital I/O pins and 6 analog input pins, sometimes, on complex or 'big' projects, we run out of digital pins. In this tutorial you will learn how to use multiple buttons on one analog pin.
For example, if you have 4 buttons, you will need 4 digital pins to read them. But, if you connect them all together, with different resistors, you can read them from only one analog pin!
Let's see how it works
What you will need
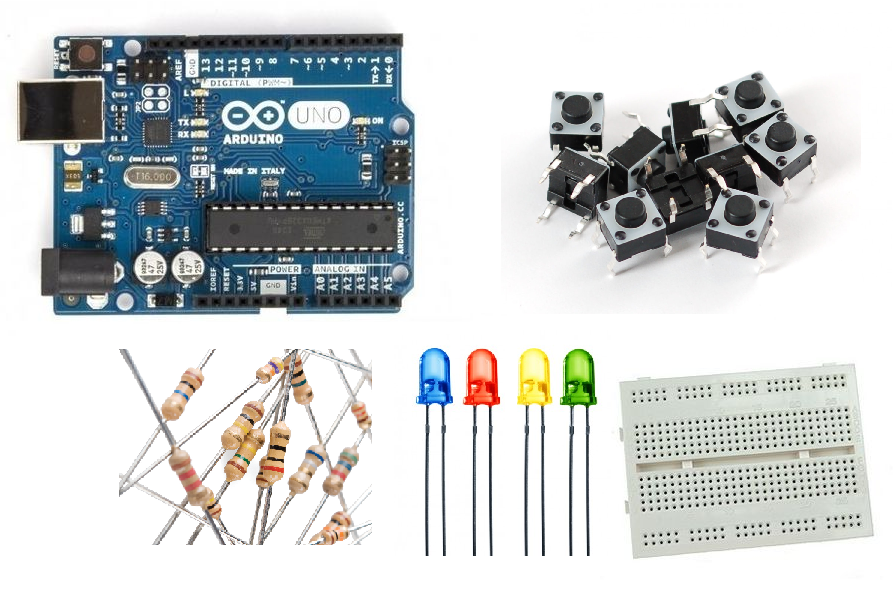
For this tutorial you will need:
- Arduino uno
- Breadboard
- 4x button sw
- 4x leds (yellow,red,blue,green)
- 4x 330 Ohm (or 220Ohm) resistors
- 1x 1K, 2K, 3K and 10K resistors
How it works
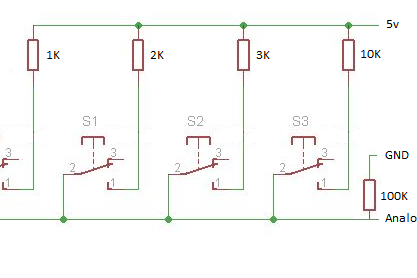
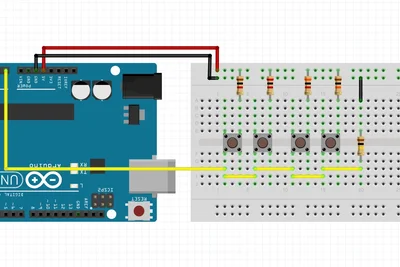
It's quite simple, every time a button is pressed, the Arduino receives an analog value from 0 to 1023. Depending resistance to each button this value changes. By this way we can recognize which button was pressed.
Now let's see how it works in practice!
Build the circuit above and program the Arduino with the following sketch. Bellow you will find the Codebender serial monitor, just press the connect button to start serial communication.
As you can see if no button is pressed the value obtained is 0. Now press the first button (with 1K resistor) and keep a notice with the value that you received. Keep going with all of them.
Mine values are:
- 1st button: 1013
- 2nd button: 1004
- 3rd button: 995
- 4th button: 871
Tip: You can use as many buttons you want.
The Circuit
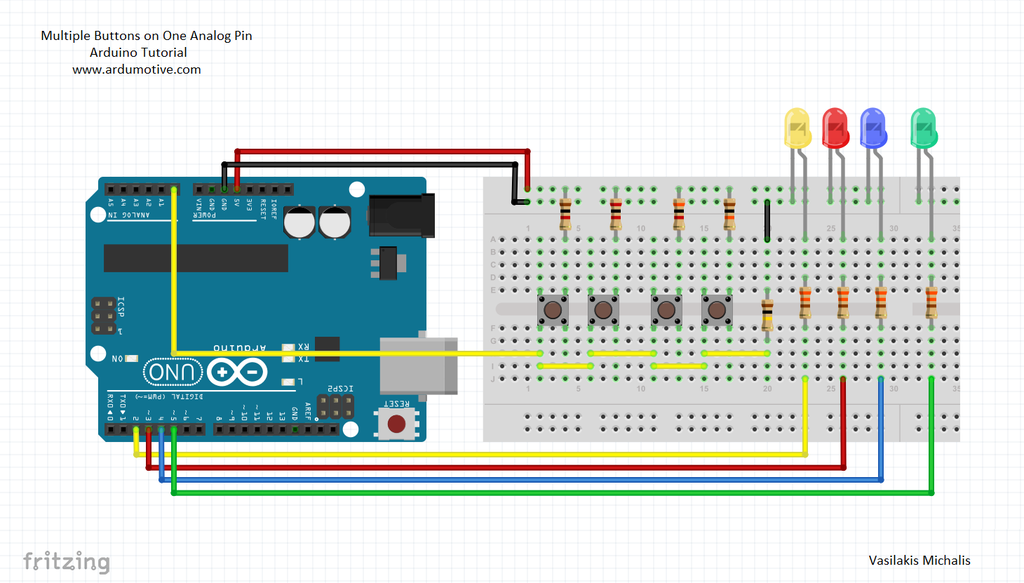 Let's see how we can use these values to control some leds. Build the above circuit, the connections are pretty easy.
The Code
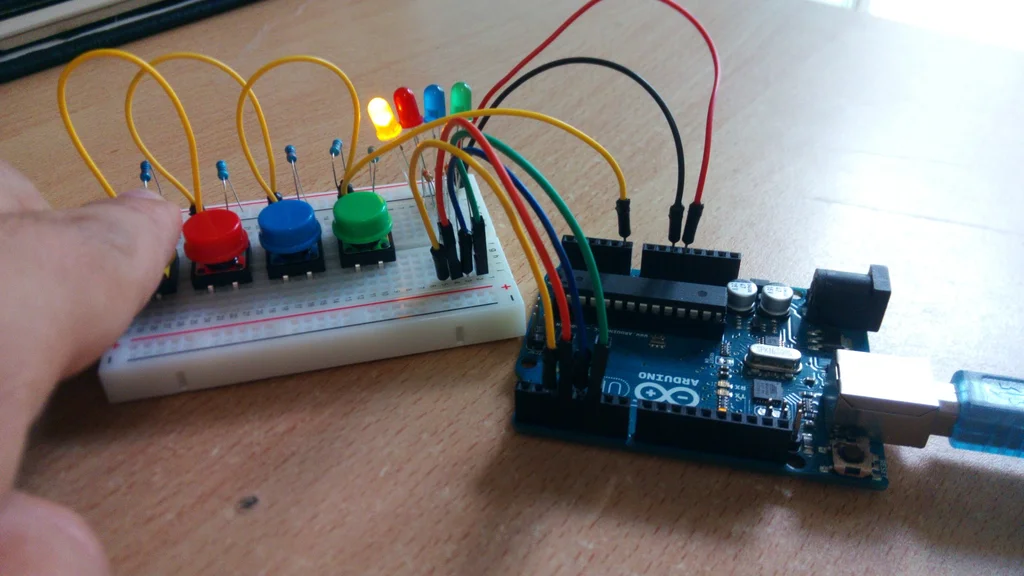
Here's the code, embedded using Codebender!
You can make your own modifications to the code by clicking the "Edit" button.
Tip: Don't use absolute values, for example: instead 1013, use 1010 to 1015 ;)
Well done!
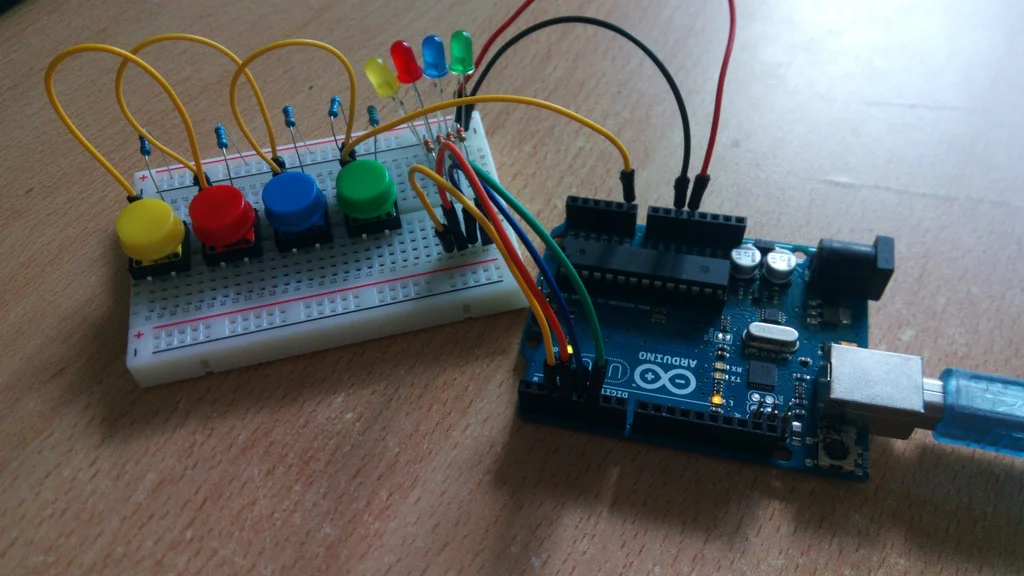
You have successfully completed one more Arduino "How to" tutorial and you learned how to use multiple buttons on only one analog pin!