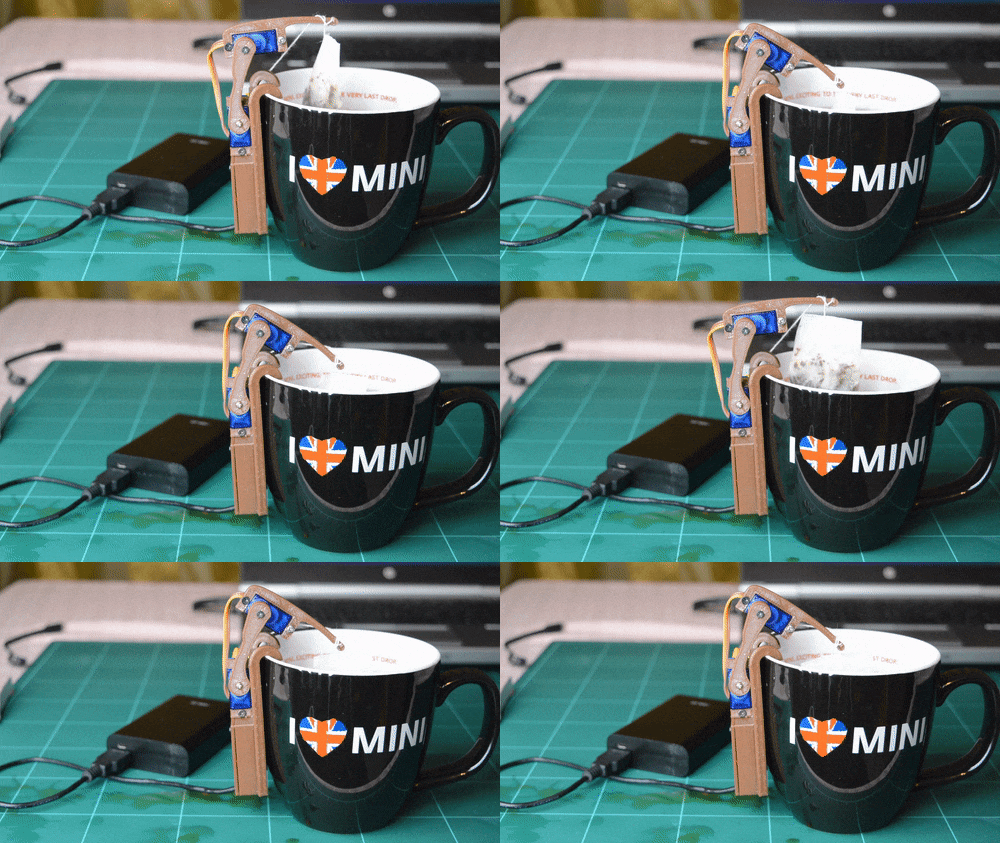
Have you ever found yourself having some crazy ideas that could easily make your life easier and more fun? Maybe an alarm for your stash of cookies that you don’t want anybody to touch. Some kind of a device that you put next to it and it sends you a notification and a picture when somebody tries to steal them. Sounds cool, right?
Well that’s where the Arduino comes in. It allows you to do those kinds of things easily and for a low price.

So… What is Arduino?
It’s like a little computer you can program to do things, and it interacts with the world through electronic sensors, lights, and motors. In essence, it makes some truly hardcore electronics projects accessible to anyone — so artists and creative types can concentrate on making their ideas a reality. Hobbyists and students can jump right in without needing a lot of prior knowledge, and begin the process of using, and thereby learning, some things about embedded systems and microcontrollers. It’s the ultimate tinkering tool!

Types of Arduino boards
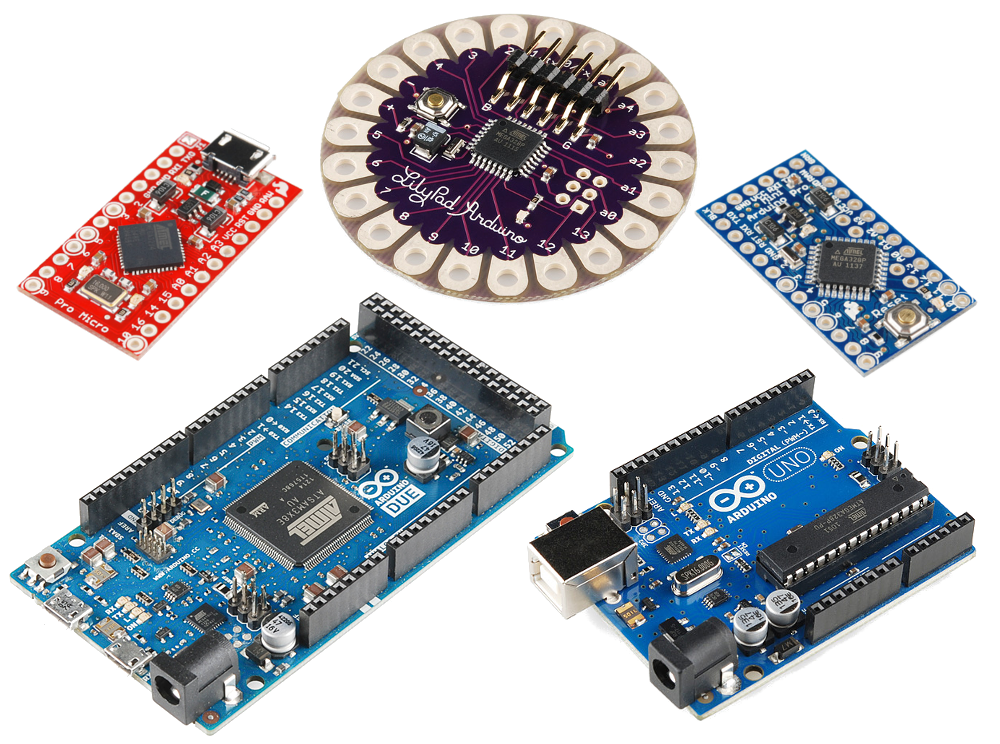
There are wide variety of applications that Arduino boards could be used, since there are also various Arduino boards.
Arduino designs and manufactures lots of different board types, such as Arduino Leonardo, Pro Mini, Uno, Mega etc. These development boards may vary by their PCB layouts, microcontroller units they use, extra peripherals that board comes installed with, it all depends on what you need. But generally speaking, they might be used from simple fun projects such as simple home automation process to a little bit serious projects such as supporting the main processor unit of a drone.

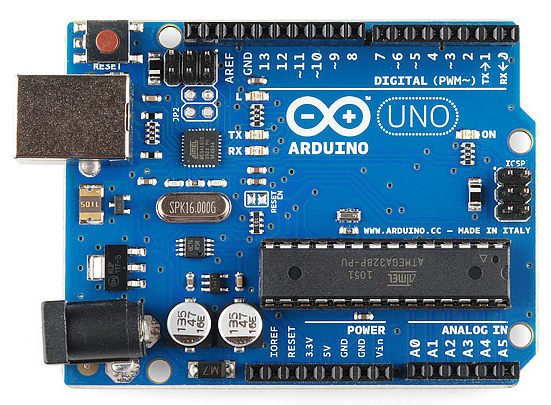
One of the most popular Arduino boards out there is the Arduino Uno. While it was not actually the first board to be released, it remains to be the most actively used and most widely documented on the market. Because of its extreme popularity, the Arduino Uno has a ton of project tutorials and forums around the web that can help you get started or out of a jam. We’re big fans of the Uno because of its great features and ease of use, especially for beginners.
Breadboard
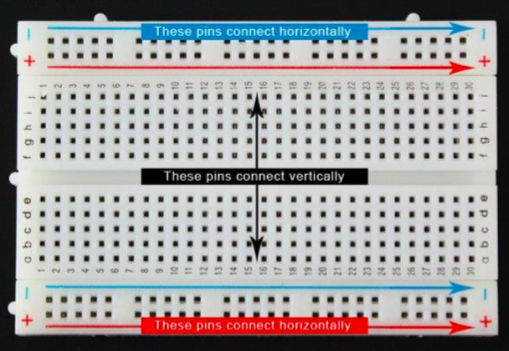
Another very important item when working with Arduino is a solderless breadboard. This device allows you to prototype your Arduino project without having to permanently solder the circuit together. Using a breadboard allows you to create temporary prototypes and experiment with different circuit designs. Inside the holes (tie points) of the plastic housing, are metal clips which are connected to each other by strips of conductive material.

How to program Arduino
Once the circuit has been created on the breadboard, you’ll need to upload the program (known as a sketch) to the Arduino. The sketch is a set of instructions that tells the board what functions it needs to perform. An Arduino board can only hold and perform one sketch at a time. One of the most easiest ways to create those sketches is to use Codebender. Programming an Arduino is a pretty straight forward process and it's easy to understand which function does what.
To use Codebender, the only thing you have to do is to download the extension for your browser and plug in Arduino to your PC with an USB cable. Below you’ll find our tutorials for Arduino that'll take you to the next level.