Introduction
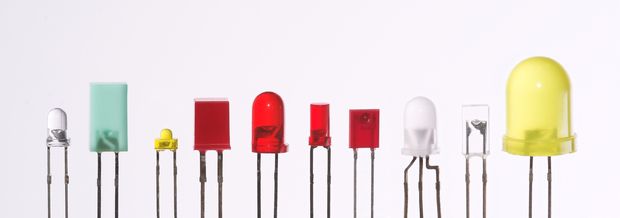
LEDs (Light-emitting diode) can be found on many collors and sizes.
This example shows the simplest thing you can do with an Arduino to see physical output: it blinks an LED!
In this tutorial you will also learn how to use pinMode(), digitalWrite() and delay() functions.
If you're new to Arduino this tutorial will help you get started and make your first Arduino project!
So, let's get started
What you will need
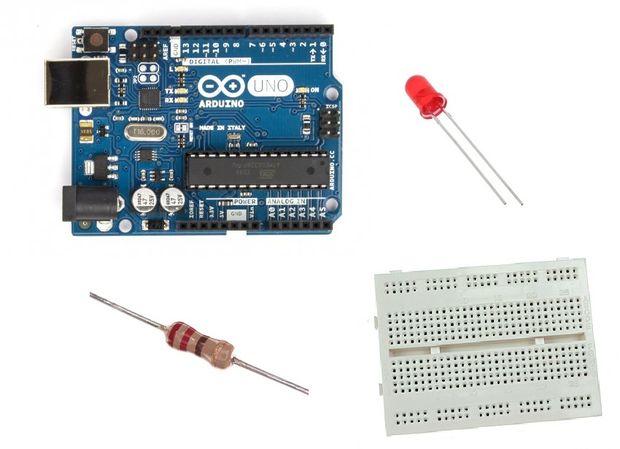
For this tutorial you will need:
- Arduino uno
- Breadboard
- LED
- 220 Ohm resistor
If you would like you can also use breadboard shield for arduino uno.
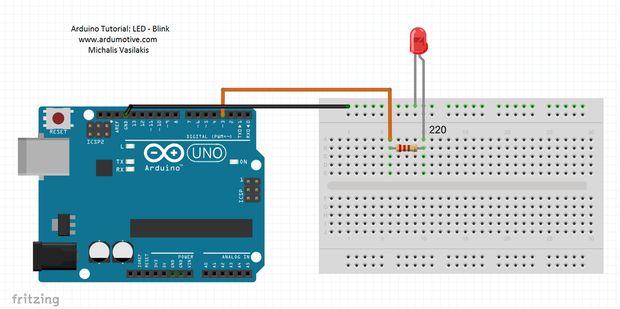
The Circuit
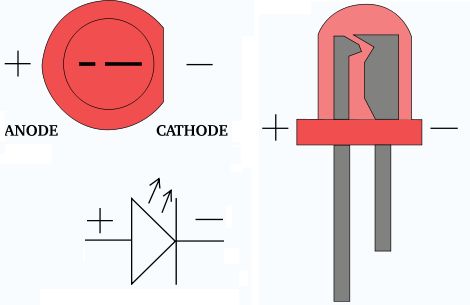
Common leds have two pins. The positive end of a led (larger pin) is called anode, and the negative end is called cathode.
Arduino uno board have a built-in LED on pin 13, but in this tutorial we are going to be adding our own on digital pin 3.
The connections are pretty easy, see the image above with breadboard circuit schematic.
The Code
Here's the Blink code, embedded using codebender!
Keep in mind that setup( ) routine runs only once after power on / re-program or press the reset button. In the program below, the first thing you do is to initialize pin 3 as an output pin with pinMode( ) function in setup( ) routine.
The loop( ) routine runs over and over again, forever. In the main loop, you turn on or off LED with digitalWrite( ) function and "pause" the program for three seconds with delay( ) function. (3 sec are 3000 ms)
Try downloading the codebender plugin and clicking on the Run on Arduino button to program your Arduino with the Blink sketch. And that's it, you've programmed your first Arduino with the basic Blink sketch! You can keep playing with that by clicking the "Edit" button and start making your own modifications to the code. For example you can add a second led or change the delay time.
Well done!
You have successfully completed our first Arduino "How to" tutorial and you learned how to use:
- led
- constants
- pinMode(), digitalWrite() and delay() functions
Welcome to the Arduino world!