Introduction
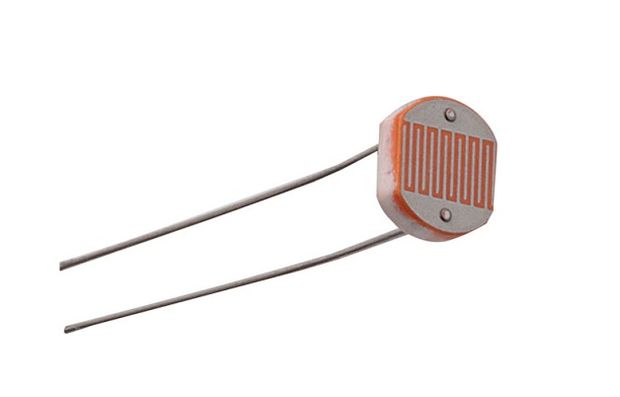
A photoresistor or photocell is a light-controlled variable resistor. The resistance of a photoresistor decreases with increasing incident light intensity. A photoresistor can be applied in light-sensitive detector circuits, and light- and dark-activated switching circuits. It's also called light-dependent resistor (LDR).
In this tutorial you will learn how to use a photoresistor with and without arduino uno.
So, let's get started!
How to use photoresistor
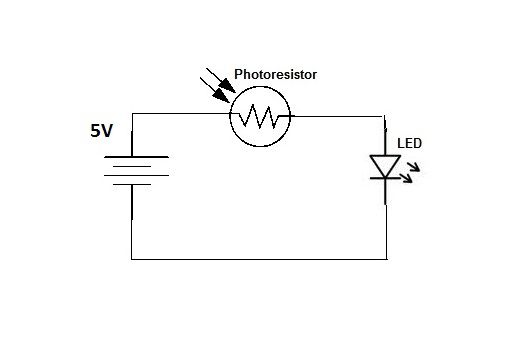
Let's see how a photoresistor react in light. Build the circuit above and notice how led brightness change.
The resistance value becomes smaller when there is much light in the room. So in the dark the led remains off because the resistance has become very big.
The Arduino will help us to reverse this situation, let's see how in next step.
The Circuit
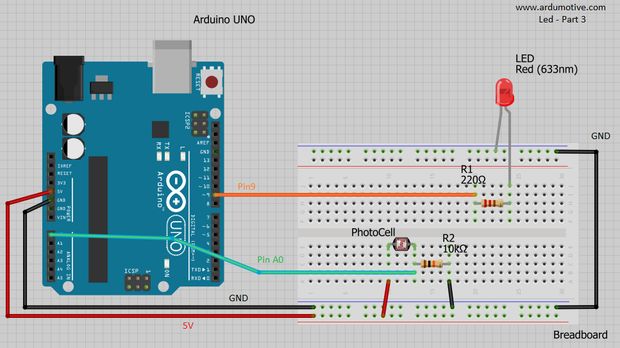
You will need:
- Arduino uno
- Breadboard
- LED
- 220 Ohm & 10 KOhm resistors
- Photoresistror
The Code
Here's the 'led & photoresistor' code, embedded using codebender!
How it works:
- Read analog value from photoresistor/photocell
-> value=analogRead(pResistor)
- Check if value is bigger than e.g. 25
- Send command to turn on/off the led
Try downloading the codebender plugin and clicking on the Run on Arduino button to program your Arduino with this sketch. And that's it, you've programmed your Arduino board!
You can keep playing with that by clicking the "Edit" button and start making your own modifications to the code.
For example, try to change "25" value and see how it changes the program.
Well done!
You have successfully completed one more Arduino "How to" tutorial and you learned how to use a photoresistor!