Introduction
In this tutorial you will learn how to use DS18B20 temp sensor with Arduino.
The temperature will be printed on the serial monitor of Codebender or Arduino IDE.
Presentation Video:
Before we start let's see more information about this sensor.
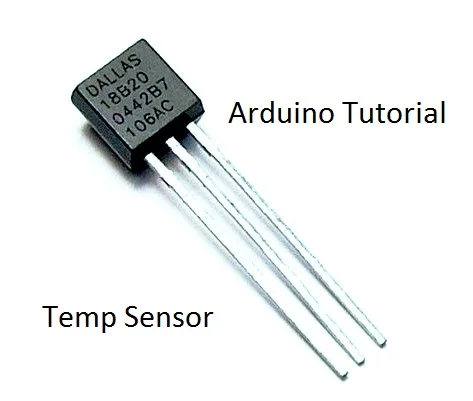
About DS18B20 sensor
The DS18B20 communicates over a 1-Wire bus that by definition requires only one data line (and ground) for communication with Arduino. It has an operating temperature range of -55°C to +125°C and is accurate to ±0.5°C over the range of -10°C to +85°C. In addition, the DS18B20 can derive power directly from the data line (“parasite power”), eliminating the need for an external power supply.
Each DS18B20 has a unique 64-bit serial code, which allows multiple DS18B20s to function on the same 1-Wire bus. Thus, it is simple to use one microprocessor to control many DS18B20s distributed over a large area. Applications that can benefit from this feature include HVAC environmental controls, temperature monitoring systems inside buildings, equipment, or machinery, and process monitoring and control systems.
Basic Features:
- Unique 1-Wire Interface Requires Only One Port Pin for Communication
- Each Device has a Unique 64-Bit Serial Code Stored in an On-Board ROM
- Requires No External Components
- Can Be Powered from Data Line; Power Supply Range is 3.0V to 5.5V
- Measures Temperatures from -55°C to +125°C (-67°F to +257°F)
- ±0.5°C Accuracy from -10°C to +85°C
What you will need
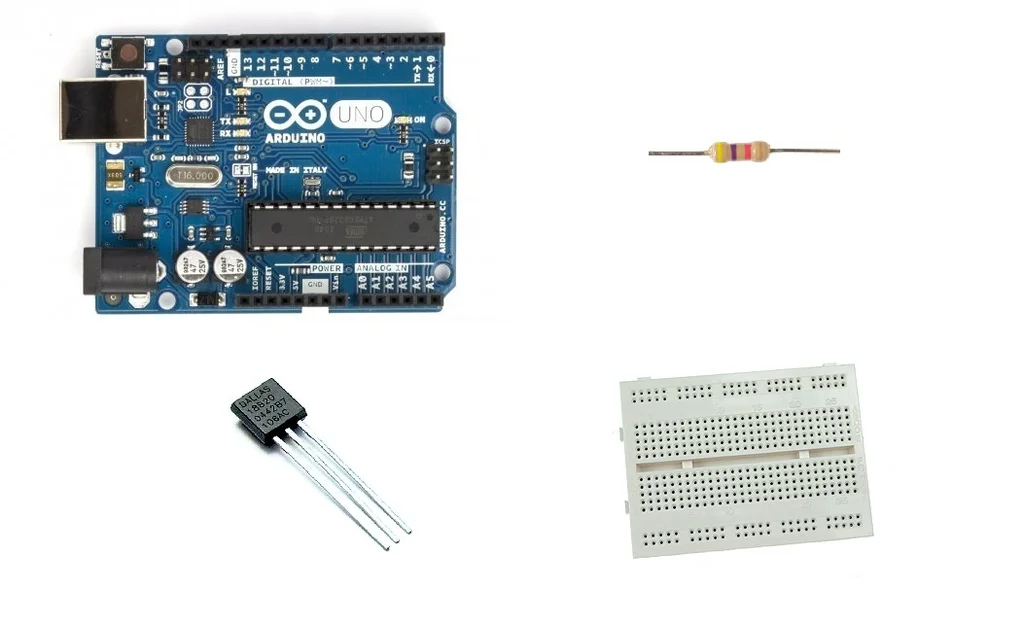
For this project you will need:
- Arduino uno
- Breadboard
- DS18B20 temp sensor
- 4.7K resistor
The Circuit
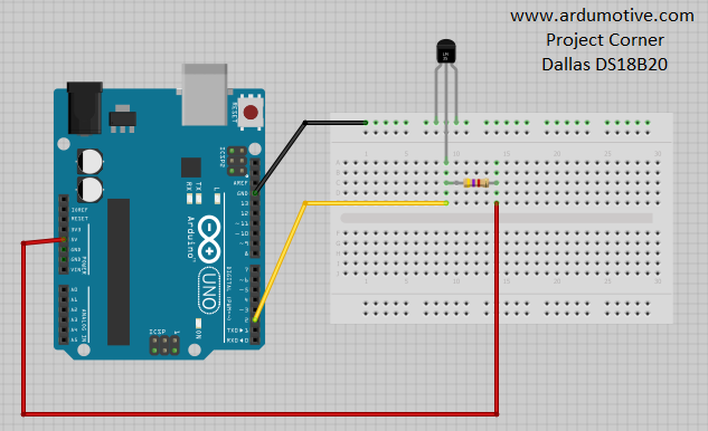
The connections are pretty easy, see the image above with the breadboard circuit schematic.
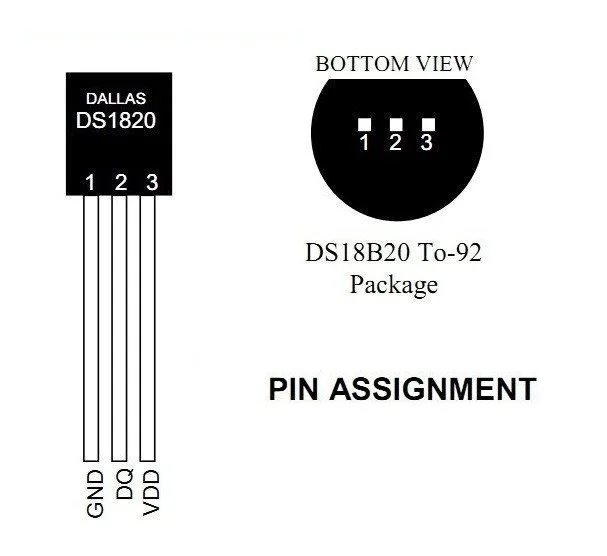
- Vcc & GND pins of sensor --> Arduino GND
- Signal (middle pin) --> Arduino Pin 2
- 4.7K Resistor between signal pin and 5V pin
The Code
Here's the code, embedded using codebender!
- Serial.println(sensors.getTempCByIndex(0)); returns temperature in Celsius scale
- Serial.println(sensors.getTempFByIndex(0)); returns temperature in Fahrenheit scale
Why "byIndex"? You can have more than one IC on the same bus. 0 refers to the first IC on the wire! Try to add a second sensor and include the following command in your code: Serial.println(sensors.getTempFByIndex(1));
Try downloading the codebender plugin and clicking on the Run on Arduino button to program your Arduino with this sketch. And that's it, you've programmed your Arduino board! Press connect button to start serial communication with your Arduino board.
You can keep playing with that by clicking the "Edit" button and start making your own modifications to the code.
For example, try to change delay time and see how it changes the program. You can also try to connect more ds18b20 sensors!
Well done!
You have successfully completed one more Arduino "How to" tutorial and you learned how to use the DS18B20 temp sensor with Arduino.
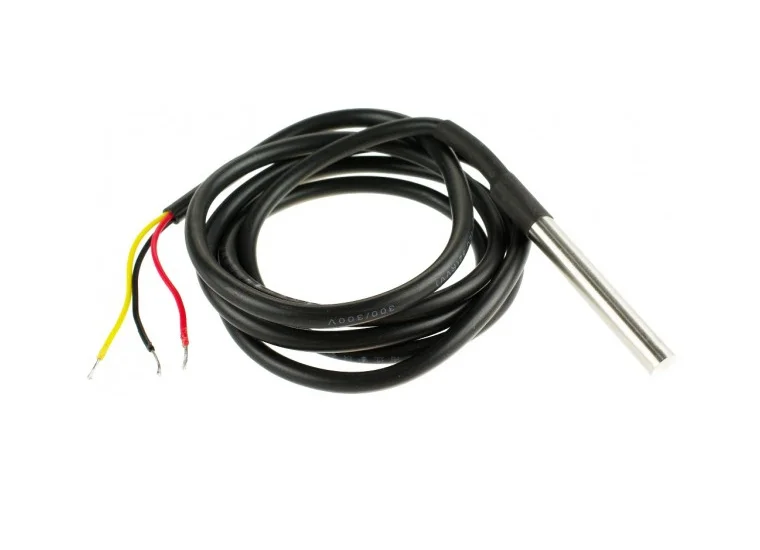
Tip: The DS18B20 sensor can be found also in waterproof version. (see image above)