Introduction
The DHT-11 is a digital-output relative humidity and temperature sensor. It uses a capacitive humidity sensor and a thermistor to measure the surrounding air. Compared to the DHT22, this sensor is less precise, less accurate and works in a smaller range of temperature and humidity, but its smaller and less expensive.
Technical details:
- Power: 3-5V
- Current: 2.5mA
- Humidity: 20-95%, ±5% accuracy
- Temperature: 0 to 50°C, ±2°C accuracy
You can find DHT-22 tutorial here.
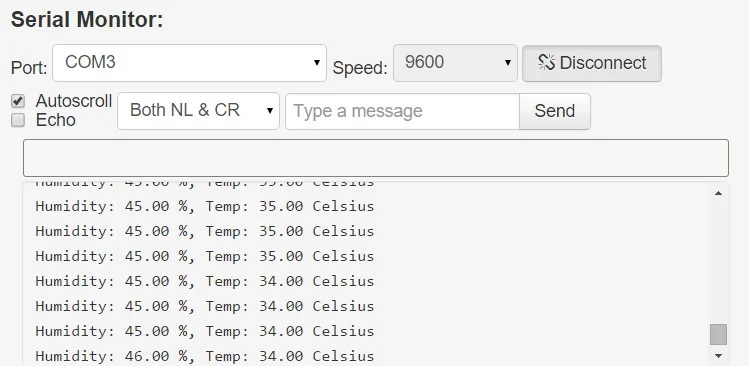
In this tutorial you will learn how to use this sensor with Arduino uno. The room temperature & humidity will be printed to serial monitor.
What you will need
For this tutorial you will need:
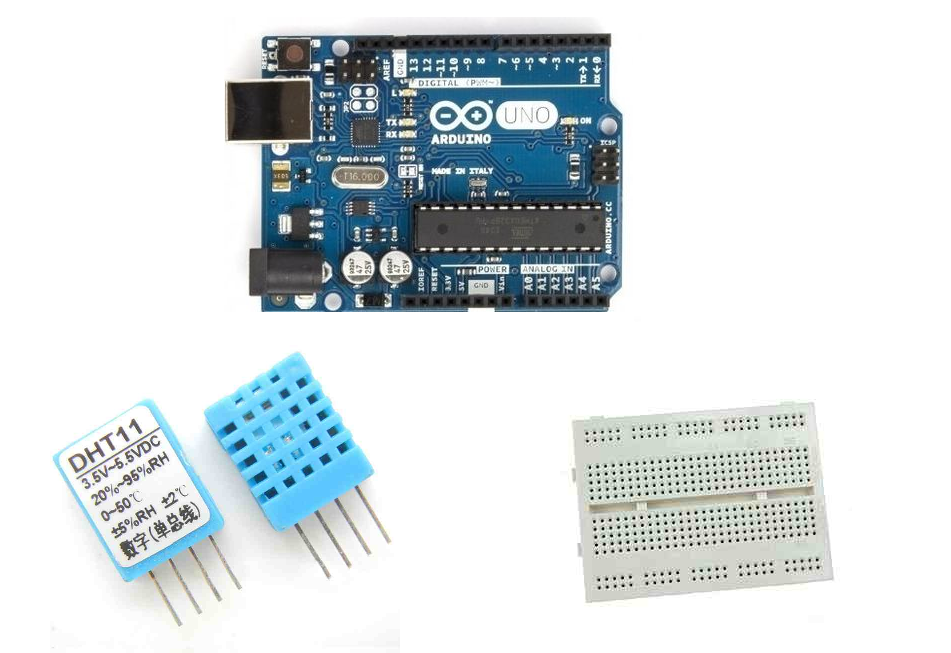
- Arduino uno
- Breadboard
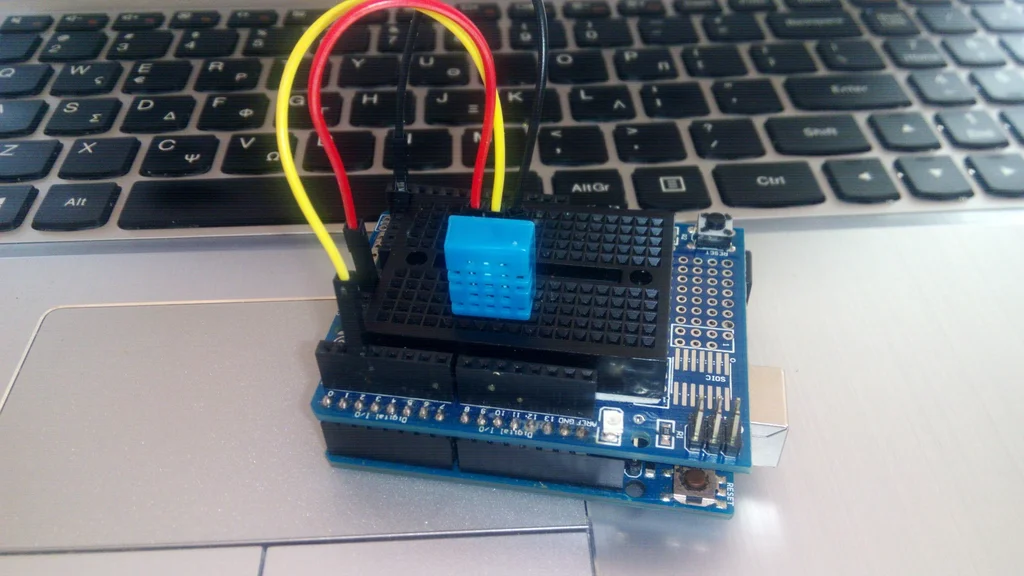
- DHT-11
The Circuit
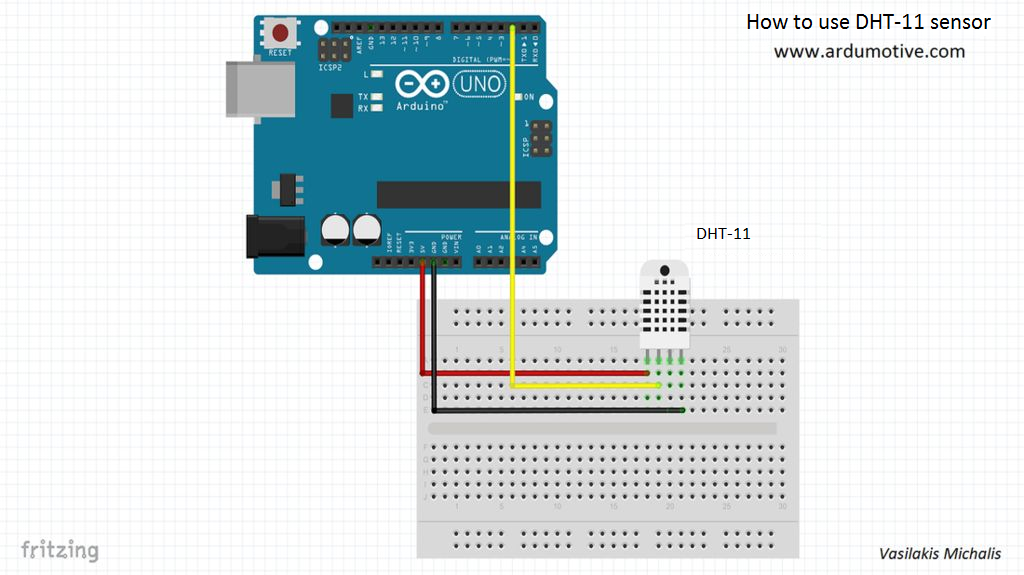
The connections are pretty easy, see the image above with the breadboard circuit schematic.
The Code
Here's the code, embedded using codebender!
Try downloading the codebender plugin and clicking on the "Run on Arduino" button to program your Arduino board with this sketch. Below you will also find codebender serial monitor, press connect button to start receiving data from the sensor.
Well done!
You have successfully completed one more Arduino "How to" tutorial and you learned how to use the DHT-11 sensor.